Table of Contents
Getting Started
Day Scheduler is designed to help you organize your day with an intuitive time-blocking approach. This user guide will walk you through all the features and show you how to make the most of the application.
Launch the Application
Access Day Scheduler by clicking the "Launch App" button on the homepage or by navigating directly to day-scheduler.html.
The Main Interface
When you first open Day Scheduler, you'll see the main timeline view divided into hourly segments, representing your day from 6 AM to 10 PM. The sidebar on the left contains your Inbox and Category options.

Create Your First Task
Double-click on any time slot in the timeline to create a new task. A dialog box will appear where you can enter task details including title, duration, category, and optional notes.
Pro Tip
Take a few minutes at the beginning of each day to plan your schedule. Research shows that planning your day in advance significantly increases productivity and reduces stress.
Time Blocking
Time blocking is a productivity technique where you divide your day into blocks of time, each dedicated to accomplishing a specific task or group of tasks.
Creating Time Blocks
There are several ways to create time blocks in Day Scheduler:
- Double-click on timeline: Click directly on the time you want to start a task
- Drag and select: Click and drag across multiple time slots to create a longer task
- Quick add button: Use the "+" button in the top toolbar to add a task
Editing Time Blocks
Once created, you can manage your time blocks in various ways:
- Drag and drop: Move tasks to different times by clicking and dragging
- Resize: Adjust the duration by dragging the bottom edge of a task block
- Edit details: Click on a task to open its details for editing
- Delete: Remove a task by clicking on it and selecting the delete icon or pressing the Delete key

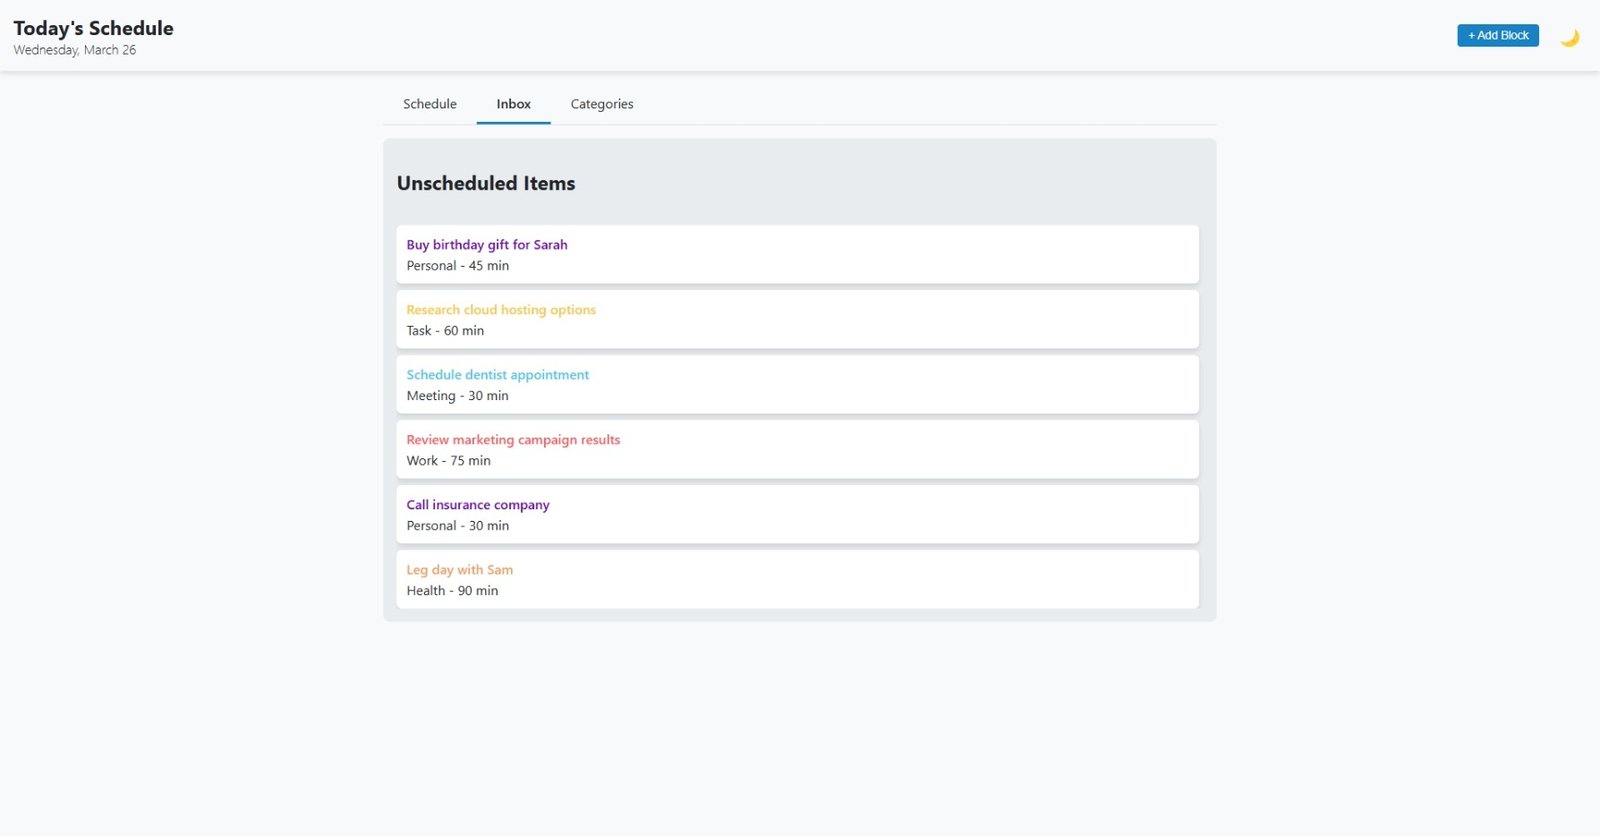
Inbox System
The Inbox is a holding area for tasks that you want to track but haven't yet assigned to a specific time.
Adding Items to the Inbox
To add an item to your inbox:
- Click on the "Inbox" tab in the left sidebar
- Click the "+" button at the top of the Inbox panel
- Enter the task details and click "Save"
Moving from Inbox to Timeline
When you're ready to schedule an inbox item:
- Drag the item from the Inbox to a specific time on the timeline, or
- Right-click on the item and select "Schedule" to open a time selection dialog
Pro Tip
Use the Inbox to quickly capture tasks as they come to mind, then schedule them during your daily planning session.
Categories and Tags
Categories help you visually distinguish different types of activities in your schedule.
Default Categories
Day Scheduler comes with several default categories:
- Work (Blue)
- Personal (Green)
- Meeting (Purple)
- Health (Red)
- Learning (Orange)
Creating Custom Categories
To create your own categories:
- Click the "Categories" tab in the left sidebar
- Click the "+" button at the bottom of the categories list
- Enter a name for the category
- Select a color from the color picker
- Click "Save"

Working with Subtasks
For complex tasks, you can break them down into manageable subtasks.
Adding Subtasks
- Click on an existing task to open its details
- Scroll down to the "Subtasks" section
- Click "Add Subtask" and enter a description
- Add as many subtasks as needed
- Click "Save" to update the task
Completing Subtasks
Check the box next to a subtask to mark it as complete. The main task will show progress based on how many subtasks are completed.
Dark Mode
Day Scheduler includes a dark mode to reduce eye strain and make the application more comfortable to use in low-light environments.
Enabling Dark Mode
To toggle between light and dark modes:
- Click the moon icon in the top navigation bar, or
- Use the keyboard shortcut Ctrl + D (Windows) or Cmd + D (Mac)

Keyboard Shortcuts
Day Scheduler provides keyboard shortcuts to help you work more efficiently.
| Action | Windows/Linux | Mac |
|---|---|---|
| New Task | Ctrl + N | Cmd + N |
| Save Task | Ctrl + S | Cmd + S |
| Delete Task | Delete | Delete |
| Toggle Dark Mode | Ctrl + D | Cmd + D |
| Go to Inbox | Ctrl + I | Cmd + I |
| Go to Today | Ctrl + T | Cmd + T |
Data Storage
Day Scheduler uses local storage to save your data directly in your browser.
Data Persistence
Your schedule, tasks, and preferences are automatically saved in your browser's local storage. This means:
- Your data persists between sessions (when you close and reopen the app)
- Data is stored only on your device, not on our servers
- No internet connection is required after the initial page load
Important Note
Clearing your browser cache or cookies will delete your Day Scheduler data. Consider making periodic backups of important schedules using the export feature.
Exporting and Importing Data
To back up or transfer your data:
- Click the settings icon in the top-right corner
- Select "Export Data" to download a JSON file of your schedule
- To import, select "Import Data" and choose your backup file
Troubleshooting
If you encounter any issues while using Day Scheduler, try these common solutions:
Tasks Not Saving
- Make sure you're clicking "Save" after making changes
- Check if your browser has sufficient storage space
- Ensure you haven't disabled local storage in your browser settings
Display Issues
- Try refreshing the page (F5 or Cmd + R)
- Clear your browser cache and reload
- Try a different browser to see if the issue persists
Getting Additional Help
If you continue to experience issues or have questions not covered in this guide:
- Visit our Help Center for additional resources
- Contact our support team at support@dayscheduler.com